Ever felt stuck trying to figure out where to place your capo? You’re not alone!
According to Guitar World understanding chord alternatives is a crucial and underrated skill.
But don’t worry – we’re about to make your life a whole lot easier with our comprehensive guide, capo placement calculator and capo chart.
Whether you’re trying to match a singer’s vocal range or just want to explore new sonic territories, understanding capo placement is a game-changer for your playing.
Let’s dive into everything you need to know about using a capo effectively!
Understanding Capo Placement Basics
Let’s start with the fundamentals – because even the pros sometimes need a refresher!
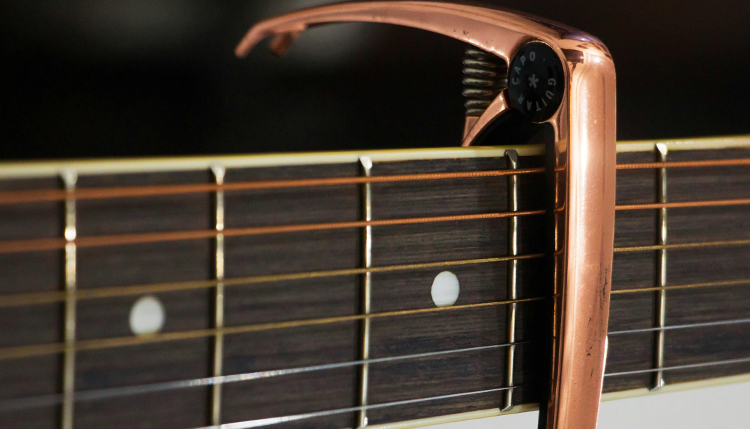
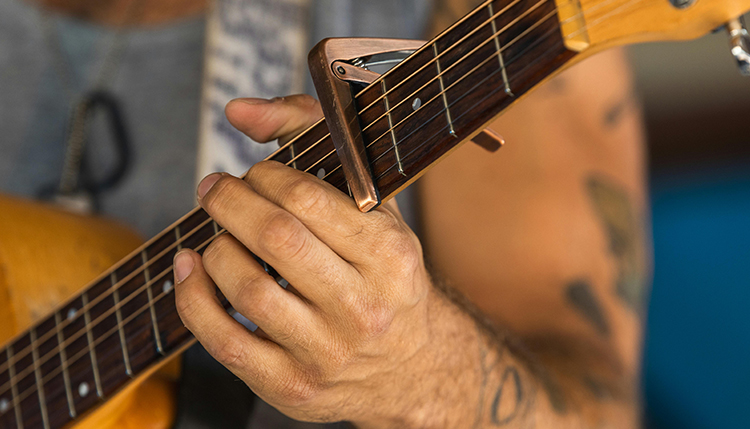
A capo is basically a portable fret that clamps onto your guitar neck, raising the pitch of all strings simultaneously. Think of it as moving a portable nut up the neck of your guitar.
The magic of a capo lies in its versatility. By placing it on different frets, you can instantly change the key of a song while using familiar chord shapes.
This is particularly handy when you’re playing with other musicians or trying to accommodate a vocalist’s range.
Here’s what happens when you use a capo:
- First position (1st fret) raises everything by a half step
- Second position (2nd fret) raises everything by a whole step
- Each subsequent fret raises the pitch by another half step
The cool thing about capos is how they maintain the relationships between strings.
Your chord shapes stay exactly the same – they just sound higher!
This means you can play complex fingerpicking patterns or intricate chord progressions without learning new finger positions.
Pro tip: The quality of your capo matters more than you might think.
The best guitar capos will apply even pressure across all strings without causing tuning issues.
Some seasoned players swear by spring-loaded capos for their consistent pressure, while others prefer screw-type capos for their adjustability.
Common applications include:
- Brightening up standard chord progressions
- Accessing new voicings without learning new shapes
- Matching a vocalist’s range without transposing
- Creating interesting doubled parts with another guitarist
Remember – there’s no “wrong” place to put a capo. Some of the most interesting sounds come from experimental placement.
Just ask The Beatles, who frequently used capos in unusual positions to create their signature sound.
Interactive Capo Placement Calculator
Now we’re getting to the really useful stuff! Our interactive capo placement calculator takes the guesswork out of transposition.
It’s like having a seasoned guitar tech in your pocket, ready to help you figure out exactly where to place your capo.
Using the calculator is super straightforward:
- Enter your current chords
- Select your desired key
- Click calculate
- Get instant results showing optimal capo position and new chord shapes
The calculator doesn’t just give you basic information – it’s packed with smart features that make transposition a breeze:
- Instant visualization of fret positions
- Alternative chord voicing suggestions
- Common chord progression templates
- Mobile-friendly interface for on-the-go reference
One of the coolest features is the ability to save your frequently used progressions. This is super handy for gigging musicians who need to quickly reference different song arrangements.
Here’s a pro tip that many players miss: when using the calculator, pay attention to the alternative voicing suggestions.
Sometimes placing the capo in a different position and using alternate chord shapes can give you a better sound, even if it means learning a slightly different fingering.
Remember: The calculator is a tool, not a rule book. Use it as a starting point, then trust your ear for final adjustments.
Sometimes the “mathematically correct” position isn’t the most musical choice.
Capo Placement Calculator
Results
Capo Chart Reference Guide
| Capo Fret | Key of C | Key of G | Key of D | Key of A | Key of E |
|---|
Guitar Capo Chart Reference
Time to get into the nitty-gritty with our comprehensive capo chart!
This isn’t just your basic reference – it’s a complete guide to understanding how different capo positions affect your chord voicings in standard tuning.
The chart breaks down like this:
- Vertical axis shows original chords
- Horizontal axis shows capo positions
- Intersection points show resulting chords
- Color coding indicates common progressions
Why is this chart different from others you might find online? It’s designed with real-world applications in mind.
We’ve included the most common chord progressions used in popular music, so you can quickly find the patterns you need.
Key features of our chart:
- Quick-reference design
- Common progression highlights
- Alternative tuning considerations
- Printable PDF format
Pro tip: Notice how certain capo positions create particularly sweet-sounding voicings for specific keys.
For example, placing the capo on the 2nd fret when playing in the key of A can give you access to those gorgeous D-shape chord voicings.
Alternative tunings deserve special mention here.
While our chart focuses on standard tuning, we’ve included notes about how capo placement affects common alternate tunings like DADGAD and Open D.
This can open up some really interesting sonic possibilities!
Advanced Capo Techniques and Tips
Ready to take your capo game to the next level? These advanced techniques will help you create sounds that’ll make other guitarists do a double-take!
First up, let’s talk about partial capos.
These bad boys only cover some of your strings, creating some really unique tunings and voicings.
Here’s what you can do with them:
- Create drop-D like sounds without retuning
- Access open string drones
- Create custom alternate tunings
- Layer multiple capos for complex effects
The partial capo technique is particularly effective for fingerstyle players.
It allows you to maintain open string drones while playing in different positions up the neck.
This creates a rich, full sound that’s perfect for solo arrangements.
Here are some pro troubleshooting tips:
- If you’re getting buzz, check your capo’s alignment
- Clean your fretboard regularly for better contact
- Adjust capo tension to match your playing style
- Consider string gauge when positioning the capo
Live performance considerations are crucial too.
Always have a backup capo ready to go – they have a habit of disappearing right before important gigs!
Also, practice your capo changes between songs until they’re smooth and quick.
Creative applications are endless. Try using your capo:
- For unique chord voicings in songwriting
- To create doubled parts with other instruments
- As a sound effect by quickly sliding it during a song
- To access natural harmonics in different positions
Remember: The most important rule of advanced capo techniques is that there are no rules.
Some of the coolest sounds come from breaking conventional wisdom and experimenting with new ideas.
Regular maintenance is key for keeping your capo in top shape.
Clean the rubber or silicone pads occasionally with a damp cloth, and check the spring tension if you have a spring-loaded model.
A well-maintained capo will give you years of reliable service.
Conclusion

Now you’re armed with everything you need to master capo placement and transposition!
Whether you’re using our capo calculator for quick reference or diving into advanced techniques, remember that practice and experimentation are your best friends.
Keep this guide bookmarked for quick reference, and don’t be afraid to try new positions and techniques.
Your perfect sound might just be a capo placement away!
Remember to check out our printable PDF capo chart for offline reference, and keep experimenting with different positions to find your signature sound.

